Today I am super excited to show you my latest DIY project with you. I have been wanting to make some DIY coasters for a long time, and finally got around to it this weekend. I bought the cork coasters in IKEA ages ago, with the idea to give them my own twist.
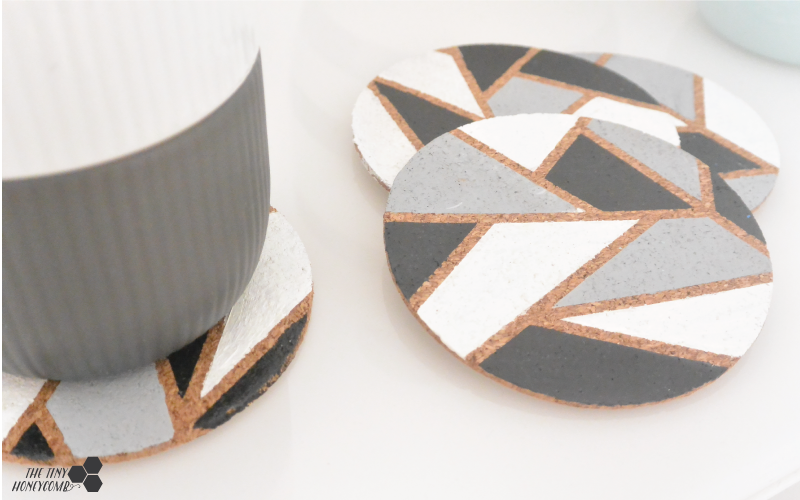
I love to make something inexpensive into my own unique piece of décor.
For this project, you will need:
- Cork coasters ( bought them at IKEA for less than a dollar)
- Acrylic paint – I used white and black. You can mix the colors to your liking.
- Tape or file with geometric pattern.
- Glossy varnish
- Paint brush
For this project, I made a stencil in silhouette that you are welcome to use, if you make the coasters. I cut the stencil in vinyl. If you don’t have the machine you can use regular tape to make a geometric pattern on your coasters.
You can download the stencil here
Now let’s get onto the tutorial:
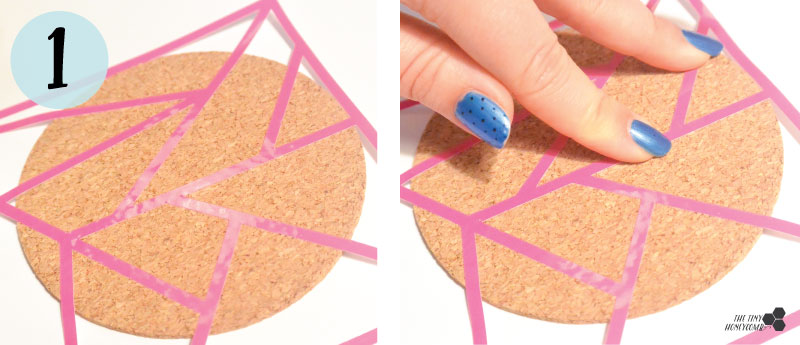
1) Stick the stencil onto the coaster and make sure the stencil is secure by pressing it down with your fingers.
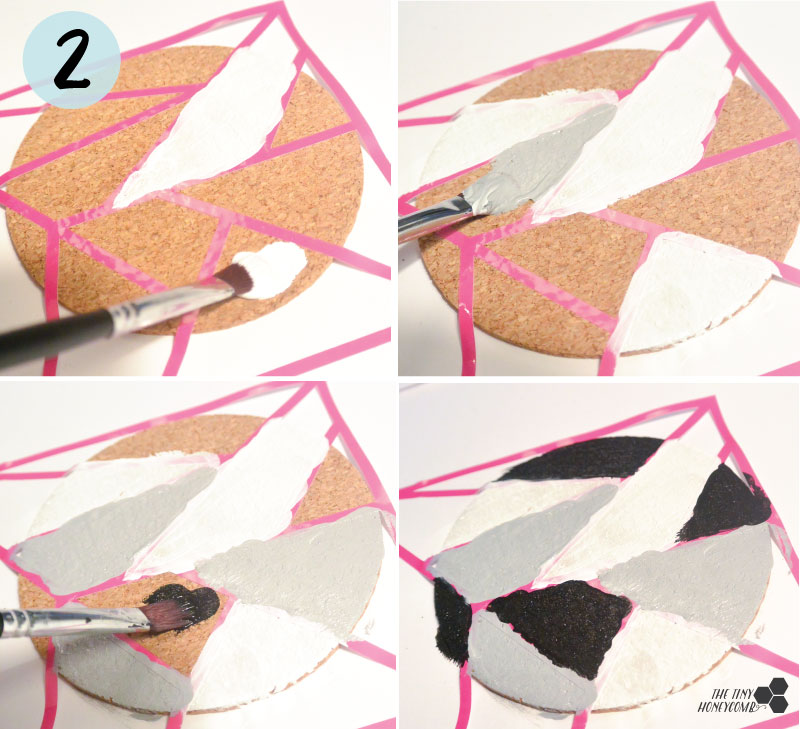
2) Paint the coaster with acrylic paint in your chosen colors. Alternate the colors from coaster to coaster and spread the colors evenly.
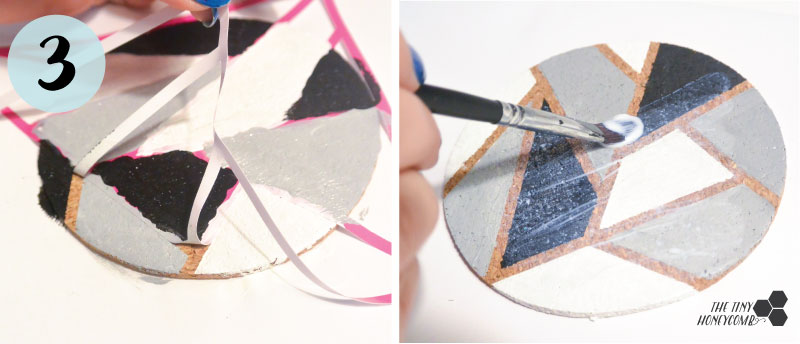
3) Peel the stencil of, being careful not to get paint on the non-painted cork. Now let the coaster dry and then glaze it so you can wipe it clean if you spill on it.
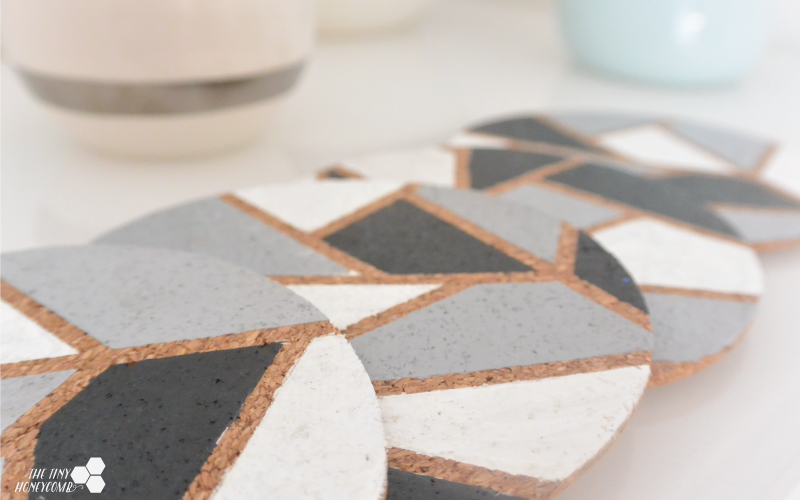
See wasn’t that easy? I made mine in an hour or so, and now have some lovely coasters for my table. I hope you will try it out and share it with me.
Xoxo,


