Hi There and happy Monday.
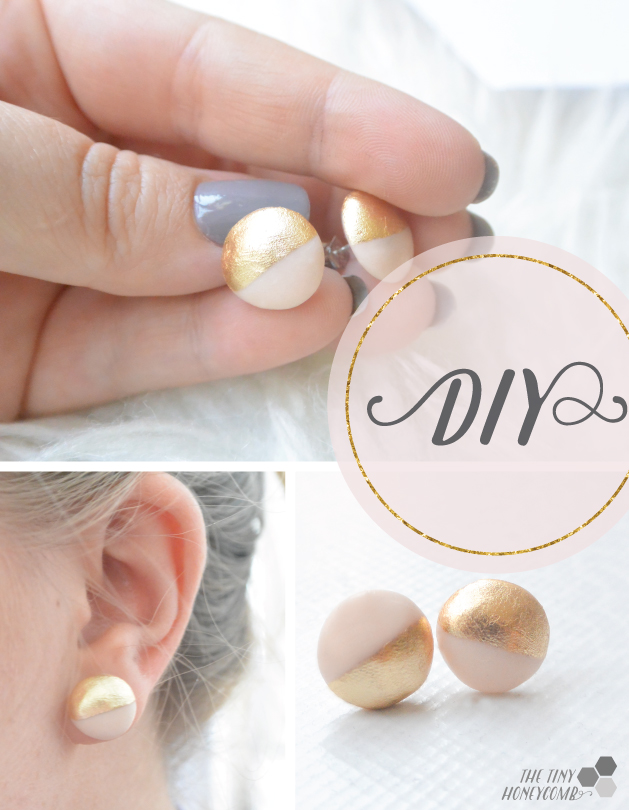
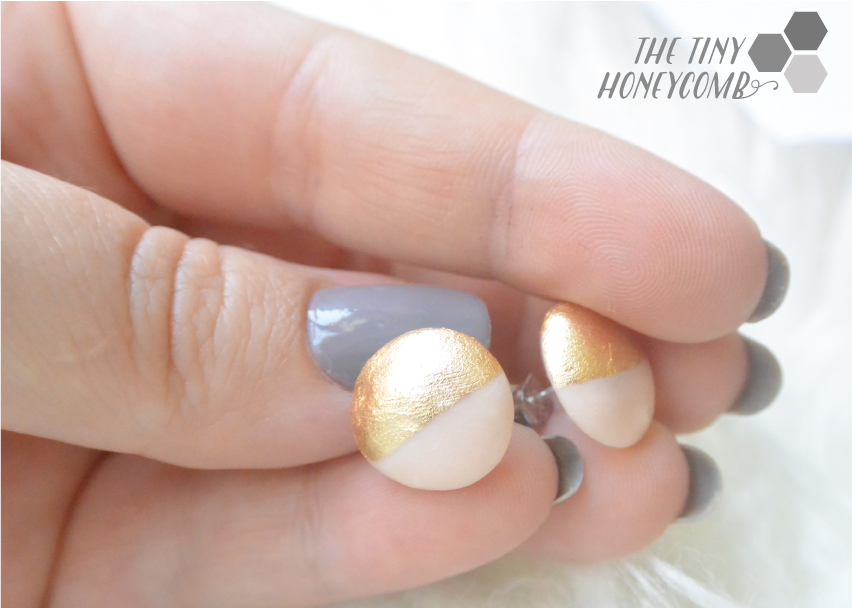
This post is all about how I made these DIY polymer clay earrings. I have always loved to make jewelry, because I can customize it to my liking and it is often way cheaper, than the jewelry I fall in love with in the stores (and cannot afford 😉 ).

Now I always played with polymer clay as a child and made “beautiful” things for my parents, like keyrings and coasters. Since then I have found that polymer clay is one the greatest materials for making jewelry, because you can mold it into everything (almost 😉 )
Now for the tutorial on these simple DIY earrings:
I like to find all the materials I will need and put them in front of me, before I get to work and for this pair of earrings I used these materials:
- Polymer clay (Fimo brand)
- Gold leaf
- Earring studs + backing
- Varnish
- Adhesive for gold leaf
- Paint brush
- Strong glue
- Cotton ball
I have tried to take some saying pictures of the process and I hope this helps you to see the steps I took in making them.

1 + 2 ) Take a fitting piece of your chosen clay color and knead it, until it is soft. Then separate the piece into two equal portions.

3 + 4) Now roll the pieces into small balls with your hands and place them on the your work surface, where you flatten them into a dome shape and then bake them accordingly to the instructions on your polymer clay.

5 + 6) Let the clay cool of and then brush on your chosen adhesive. I used the adhesive from Fimo, and it said to leave for 15 minutes to dry before applying the gold leaf. I applied the adhesive to half of the polymer clay but you can do it exactly how you wish.

7 + 8) Rip a piece of the gold leaf and place it on the adhesive. I used a cotton ball to put a light pressure on the gold leaf and make sure that it was adhered to the whole area, where I had placed the adhesive. Let it dry and then take your brush and make light circle strokes on the gold leaf to remove the excess. Glaze your earrings and leave to dry before the next step.

9 + 10) Apply your strong glue to the earring studs and place them in the center of your polymer clay pieces.
Wait a couple of minutes or how long your glue is to set, and then you have your very own unique earrings to wear.
Have fun with the DIY project and let me know how it went.
Let me know your thoughts in the comments below
Xoxo


Aaawwhhh…this is so cute! Gold is definitely the colour of the year. Plus, this is the perfect little gift for myself 😛 Thank you for sharing!
Thank you! 🙂
Yeah, couldn’t agree more, I have been seeing gold everywhere – and I love it.
If you try it, then please let me know how it went! 😀
I love these….haven’t played with Fimo for a long while…this may be just what I need to start again. Thank you for sharing.
Thanks for the lovely comment, it means a lot to me. Happy to hear that I sparked your interest again. I would love to see your project, if you decide to share it.
Hi! What type of glue do you use to adhere the earring back? Does it last? Thanks! Super cute 🙂
Hi 🙂
I am using super glue on my jewelry pieces. They always last until I don’t want them to anymore 🙂
If you want to be sure you can scratch the back of the clay with a needle and/or sand the metal earring pieces with some sandpaper to give the glue a better chance of a good grip.
I hope that helps!
Where can I find gold leaf at a good price? Thanks
I bought mine at a local store here in Denmark, but it is the gold leaf from the Fimo brand, which you should be able to find at almost any craft store 🙂
If not you can buy it from amazon or eBay – maybe even at a discounted price.
I cant wait to try these, i did try to attept them this morning but i just managed to mess them up how do get them so smooth and even whats your secret?
thanks heaps
They are so cute, right?
Some of my favorites – I hope you get it to work 🙂
The first time I tried I also got som bumps and cracks, but that was simply because I didn’t wait long enough for the gold-leaf glue to set, maybe that it what happened to you as well?
I also pressed and smoothed them out with the cotton ball and that seemed to be the trick for me – my fingers kept pulling the gold leaf up, but the cotton made such a difference 🙂