Happy midweek guys!
As you know by now I have been trying desperately to get organized this year. One is because I have to figure out how I am going to spend the rest of my life, being a newly graduate. The other is simply to get a better overview of how I spend my time. I want to optimize where I can.
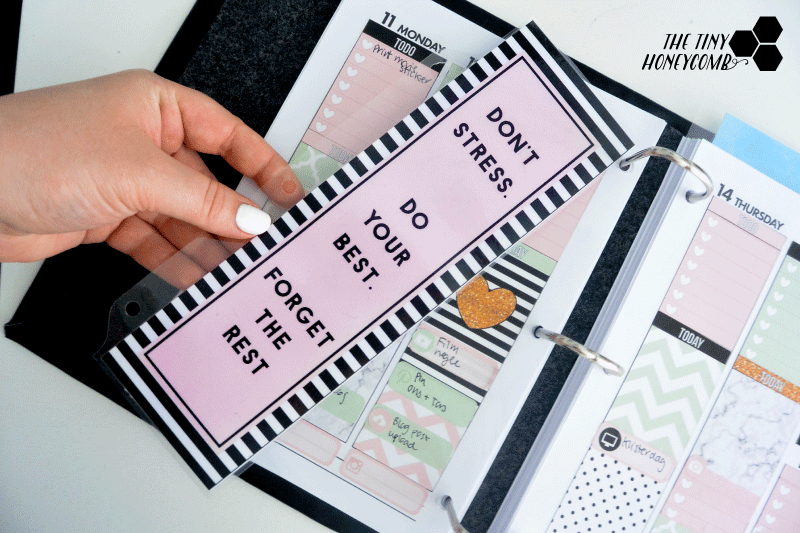
So I have been working on my own personal calendar that took much more time to make, than I originally planned (I need one, real bed :D) and this past week I finally printed it out, cut the paper to size and made holes to fit into my DIY’ed calendar binder.
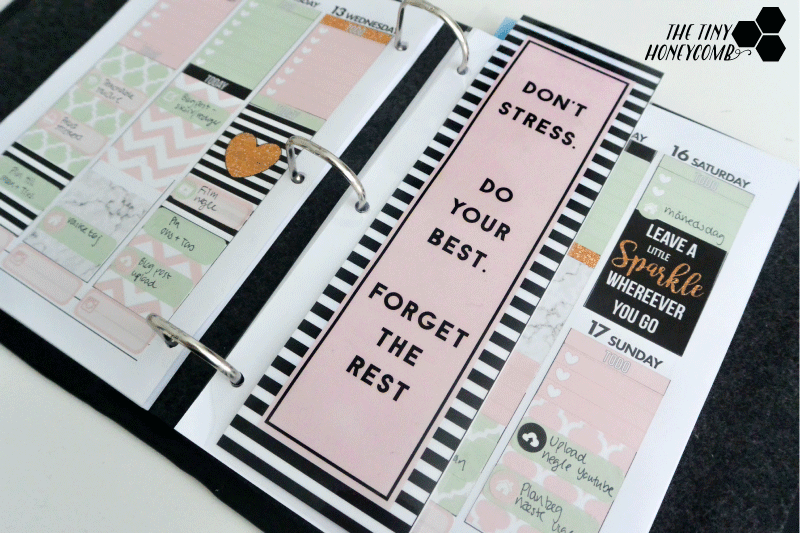
However, the calendar doesn’t have any dividers, which is kind of a pain when opening the calendar and wanting to find the right page 🙂
So I sat down and designed a couple of dividers that I want to share with you today + a simple DIY that can be fitted to your specific needs.
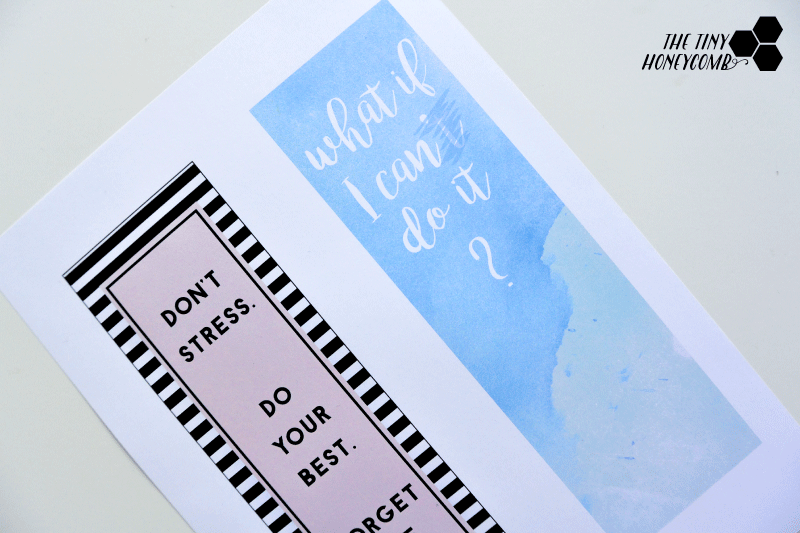
- first thing you want to do is to download the dividers that I have provided for free in my library and then print it out. You sign up below and get instant access to them + the other printables I have made in the past months.
Pro tip! When you print the design think of the paper you are using. If you have something other than regular copy paper that is preferred. When you use some higher quality paper, the print is gonna look much better. Different papers display colors differently, just like computer monitors.
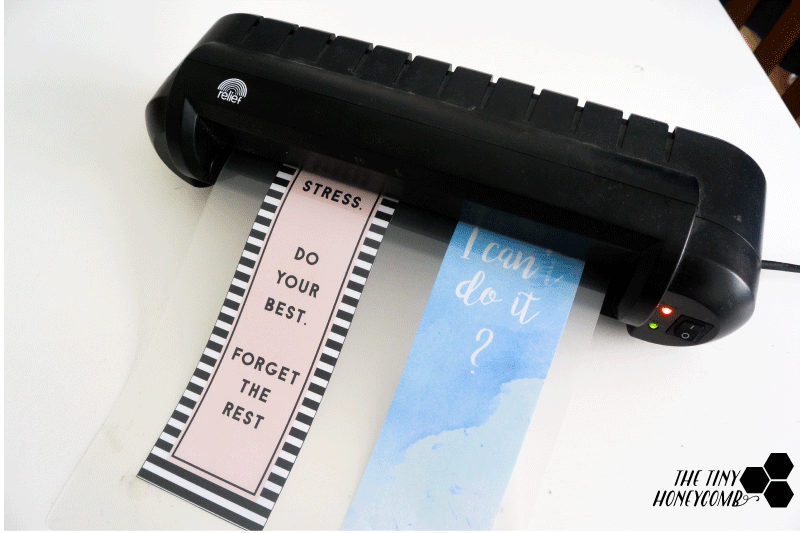
- Cut the dividers down to size and laminate them. If you don’t have a laminator and don’t want to invest in one (my were $20 – just saying) you can print the designs on cardstock to make them more sturdy and durable.
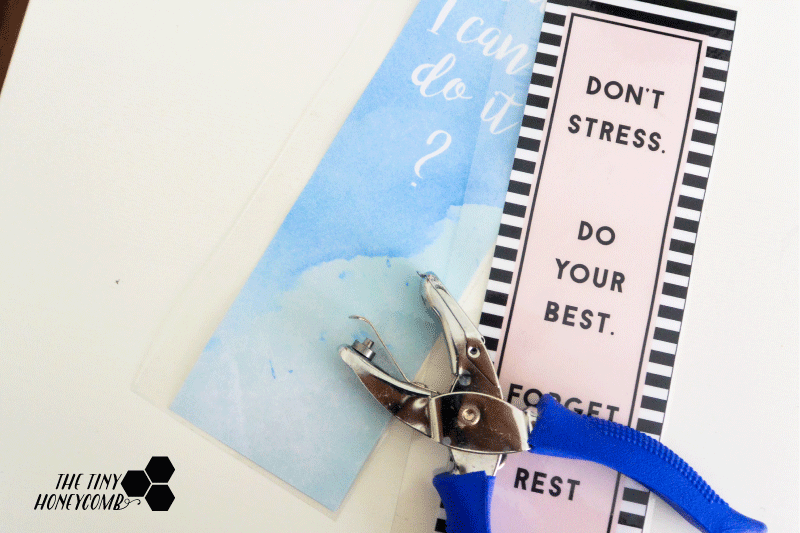
- Now cut them down, leaving a bit of room on the left side of the divider. This space is for the holes that you can now punch. Holes are different from calendar to calendar, and mine is in many ways unique, since I cut it from a 4 hole ring binder. Just place the divider right next to your calendar and mark where the holes should go, after that it is quite easy to punch them right.
Pro tip! You could easily turn this into a mini dashboard as well. Just stick some of your post-its, page flags etc. on the divider and you have yourself a mini dashboard with easy access to your most used things 🙂
Now this method works with every kind of art you have made yourself as well. You could also buy or download for free some cute clipart and make it to your style. I like the ones that I have made, and if you do too, then you can get them right here:
That was it for now guys – have a wonderful week!
Xoxo